I recently did some training on OWB at my local PSOUG user group, which is not your “run of the mill” user group. Their focus on peer to peer education and quality, technical presenations makes this group stand out in my mind. If you are in the Puget Sound area (the greater Seattle, WA area for those not familiar with US regional geography) you should definitely check out the meetings. The handout from the meeting is here (PDF, Word). Watch for an email about an OWB course at the PSOUG lab!
I promised those in attendance that I would post some notes so that you can do the same excercise. Here are those promised notes, and I hope you find it useful to get you ready and in a state ready to “recreate” the excercise. Please email me with any questions you might have, or if you are planning a Data Warehouse or Data Mart using OWB. I’d love to help out by providing additional coaching, solution planning, or actual implementation.
Step 1 : Install Oracle Database 10g
We assume you know how to install Oracle software and how to use DBCA to create a database. Download the Oracle DB 10g release 1 from OTN here. Follow the instructions to install the product onto your machine. During the process (or after using DBCA) create a database using the Data Warehouse Template, and make sure and install the sample schemas.
Step 2 : Install Oracle Warehouse Builder 10g
There’s not a lot to do at this point. Download OWB from OTN, and follow the instructions on the screen and install OWB into a SEPERATE ORACLE HOME.
Step 3 : Create an OWB Design Repository
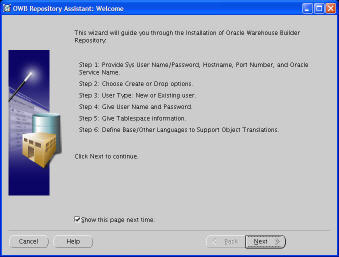
Run the following program from your OWB installation ($ORACLE_HOME/owb/bin/unix/reposinst.sh (or if you’re on windows run %ORACLE_HOME\owb\bin\win32\reposinst.bat).
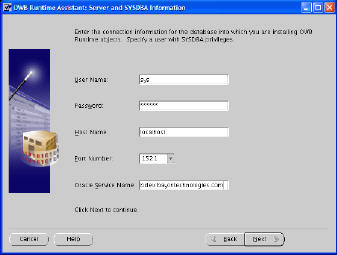
Click “Next”
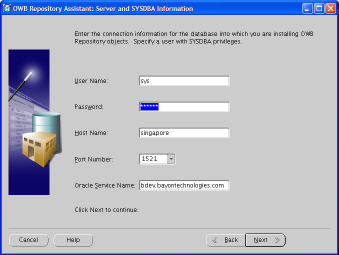
Enter your sys username, password, Service name, and port number
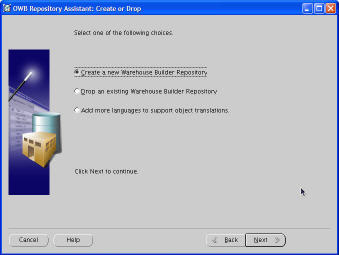
Select “Create a new Warehouse Builder Repository”
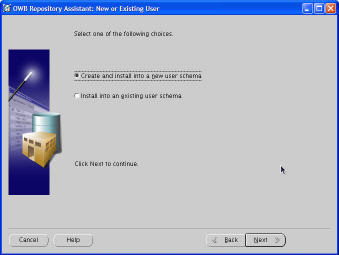
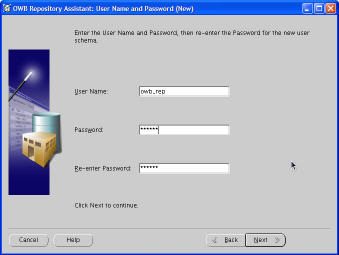
Create and install into a new user
Call it OWB_REP and give it an easy password
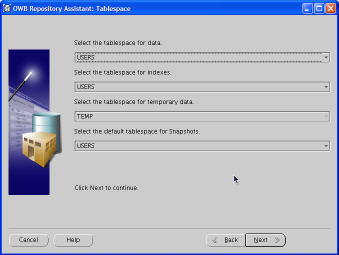
The default tablespaces are usually fine, but if you have installed your db differently feel free to change these.
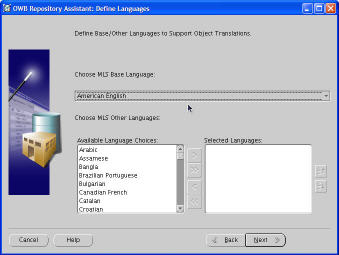
American English is fine in most circumstances and for this demo
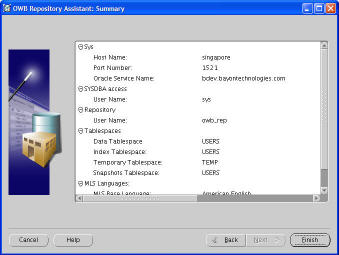
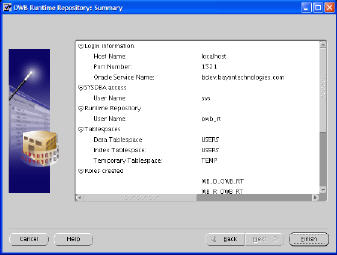
Review the information for correctness and then click “Finish”
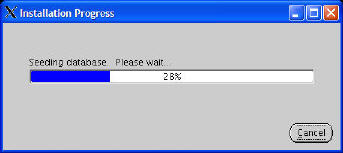
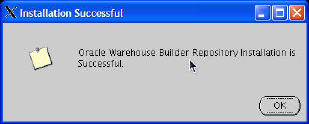
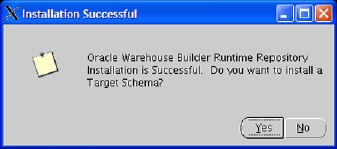
Hopefully you’re watching this work and
get one of these. You’ve installed an OWB DESIGN REPOSITORY into your database.
Step 4 : Create an OWB Runtime Repository
Run $ORACLE_HOME/owb/bin/unix/runtimeinst.sh (or corresponding file for windows)
Enter in your sys information (sys/password/singapore/1521/bdev.bayontechnologies.com)
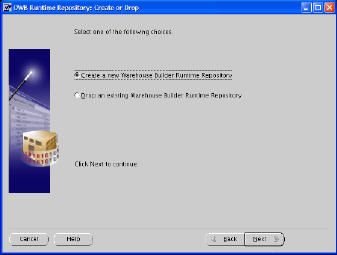
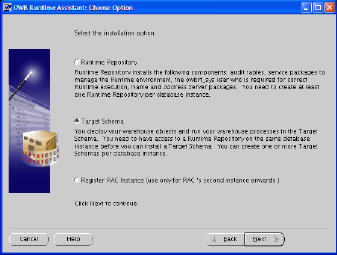
Select Runtime Repository
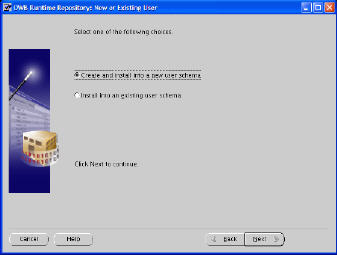
Select Create New Warehouse Builder Repository
Create and install into a new schema
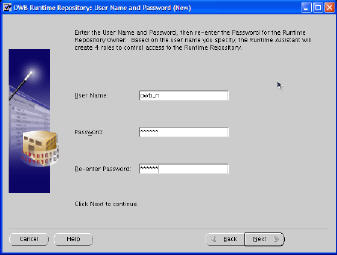
Enter in owb_rt and an easy password twice
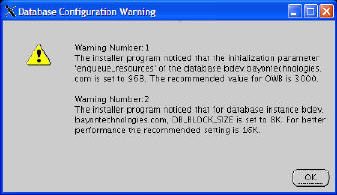
The warnings are nothing major… click OK
Default Tablespaces are fine
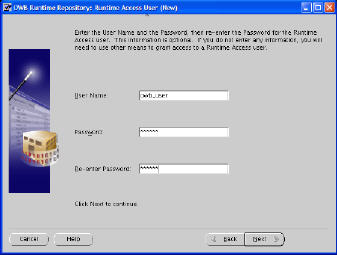
Install a new runtime access user
Enter in owb_user and an easy password twice
Port number is fine (very few people actually use the name/address cleansing and it costs extra)
Review and Click Finish
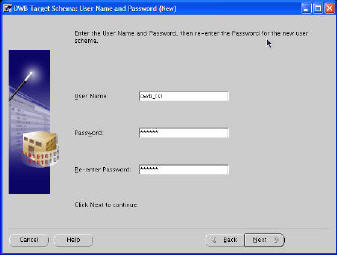
Click “Yes” to create a target schema
Select Target Schema
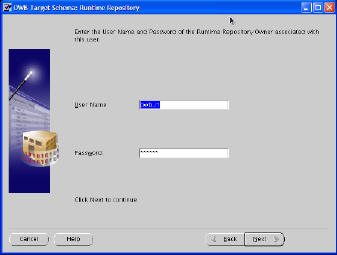
Create a new OWB Target Schema
This is the Runtime Repository we just created, owb_rt/password
Create and install into New user schema
owb_tst/easy password twice
Click OK again on the warning
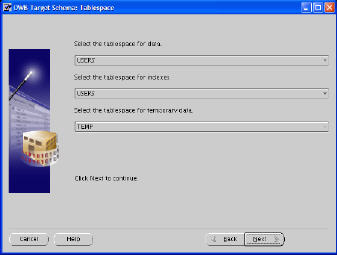
Default tablespaces are fine
Review and click Finish
You’ve successfully created a runtime repository and a target schema to deploy your test OWB objects to!


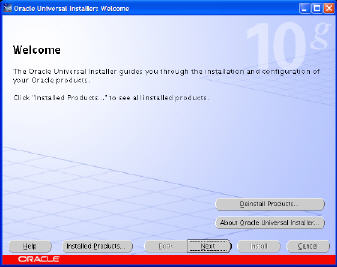
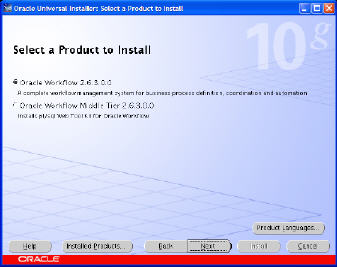
Step 5 : Install OWF 2.6.3
Download OWF Server from OTN here.
Click “Next”
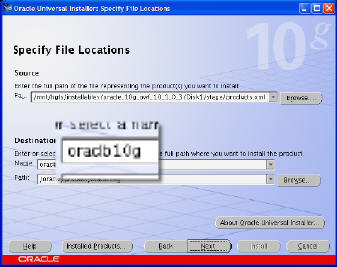
This is really important… You must use your database 10g home for installation
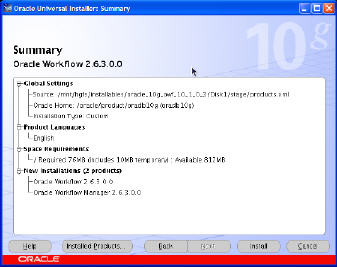
Select “Oracle Workflow”
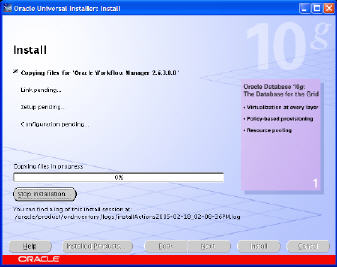
Review and Click Install
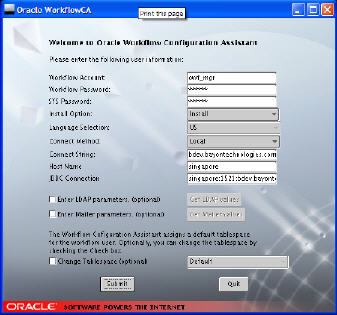
Now run $ORACLE_HOME/wf/install/wfinstall.csh (or corresponding .bat if windows)
Install into OWF_MGR, Install, your connection info (bdev, singapore, singapore:1521:bdev.bayontechnologies.com) (LocalName TNSNames, hostname, JDBC string)
Using the SYSDBA account grant execute any procedure to OWF MGRSQL> grant execute any procedure to owf_mgr; Grant succeeded.
Step 6 : Unlock the SCOTT account by running the following script as SYSDBA
SQL> alter user scott account unlock;
User altered.
Step 7 : Allow OWB_TST to select from SCOTT tables
grant select on emp to PUBLIC;
grant select on dept to PUBLIC;
grant select on salgrade to PUBLIC;.
Step 8 : Get the demo materials
Download the following items which were used during the demonstration: